Expert Tips for Your Next Painting Project Tips

Starting a new home improvement task can feel overwhelming. When it comes to a painting project, preparation and technique are key. You want a smooth finish that lasts and enhances your space. This guide offers practical advice to help you complete your next project efficiently and with professional results.
Essential Painting Project Tips for Preparation
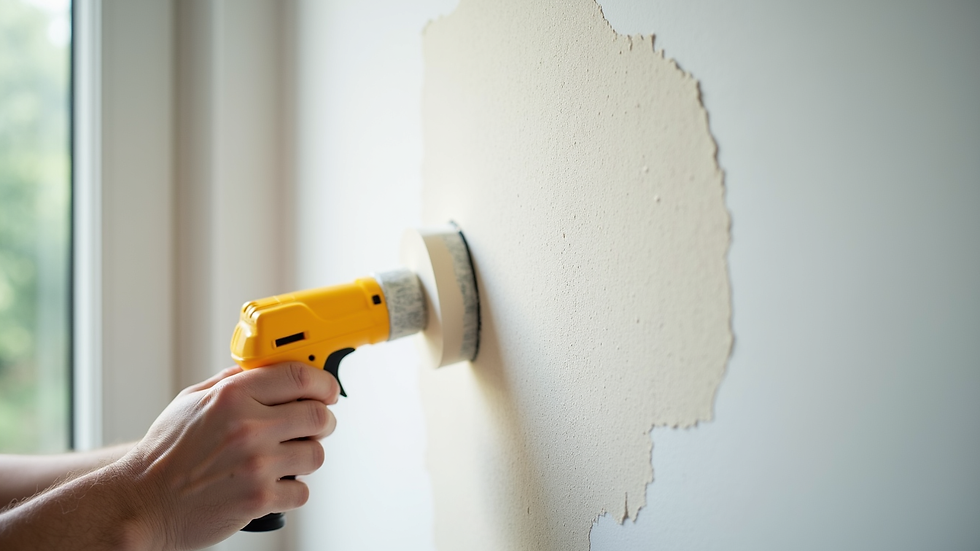
Preparation is the foundation of any successful painting job. Skipping this step can lead to uneven surfaces, peeling paint, and wasted materials. Begin by clearing the area. Remove furniture or cover it with drop cloths. Protect floors and trim with painter’s tape.
Next, clean the walls thoroughly. Use a mild detergent solution to remove dirt, grease, and dust. Rinse with clean water and let dry completely. Inspect the surface for cracks, holes, or peeling paint. Fill holes with spackle or putty and sand smooth once dry.
Priming is often overlooked but crucial. Primer seals the surface and improves paint adhesion. Use a primer suitable for your wall type and the paint you plan to apply. This step ensures better coverage and a more durable finish.
Choosing the Right Tools and Materials
Selecting the right tools can make your project easier and improve the final look. Use high-quality brushes and rollers designed for the type of paint and surface you are working on. For smooth walls, a 3/8-inch nap roller works well. For textured surfaces, choose a thicker nap.
Invest in a sturdy paint tray and liners for easy cleanup. Have a ladder or step stool handy for reaching high areas safely. Use a paint can opener and stir sticks to mix paint thoroughly before use.
When buying paint, consider the finish. Flat or matte finishes hide imperfections but are harder to clean. Satin and eggshell finishes offer a slight sheen and are easier to maintain. Semi-gloss and gloss finishes are durable and good for trim or high-traffic areas.
Step-by-Step Painting Process
Follow a systematic approach to apply paint evenly and avoid mistakes. Start by cutting in around edges with a brush. This means painting a border along ceilings, corners, and trim. It creates a clean edge for rolling.
Use a roller to cover large areas. Load the roller evenly and apply paint in a “W” or “M” pattern. Fill in the gaps without lifting the roller. Work in small sections to keep a wet edge and prevent lap marks.
Apply two coats for the best coverage and color depth. Allow the first coat to dry completely before applying the second. Follow the manufacturer’s recommended drying times.
Clean brushes and rollers immediately after use to extend their life. Use warm soapy water for latex paint and mineral spirits for oil-based paint.

Tips for Efficient Cleanup and Maintenance
Proper cleanup protects your tools and keeps your space tidy. Remove painter’s tape while the paint is still slightly wet to avoid peeling. Dispose of paint cans according to local regulations.
Store leftover paint in airtight containers for touch-ups. Label the cans with the date and room painted. Clean brushes and rollers thoroughly and let them dry before storing.
Maintain painted surfaces by cleaning gently with a soft cloth and mild detergent. Avoid abrasive cleaners that can damage the finish. Address chips or scratches promptly to prevent further damage.
How to Avoid Common Painting Mistakes
Mistakes can cost time and money. Avoid these common errors to ensure a smooth project:
Skipping surface preparation: Always clean and repair walls before painting.
Using low-quality tools: Cheap brushes and rollers can leave streaks and shed bristles.
Ignoring weather conditions: Paint in moderate temperatures and low humidity for best results.
Applying thick coats: Thin, even coats dry better and reduce drips.
Not allowing enough drying time: Follow drying times to avoid smudging and uneven texture.
By following these guidelines, you will achieve a professional look and extend the life of your paint job.
Final Advice for Your Painting Project Success
Taking on a painting project requires planning, patience, and the right approach. Focus on preparation, use quality materials, and follow a clear process. Clean up properly and maintain your work to keep your home looking fresh.
If you want to save time or ensure expert results, consider hiring professionals who understand local conditions and standards. Reliable service providers can help you avoid pitfalls and deliver lasting improvements.
With these expert tips, your next painting project will be smoother and more rewarding. Enjoy transforming your space with confidence and care.


Comments